Theming
The example repository, which holds all changes made in these tutorials, can be found here
Customizing templates
setting up your template folder
To setup a template folder where you can override qrtoolkit, or admin panel templates there are 2 simple steps to follow.
- Create a directory
templatesat the root of your project (where manage.py is located) - Add the directory to settings.py in the following manner
TEMPLATES = [
    {
        'BACKEND': 'django.template.backends.django.DjangoTemplates',
        'DIRS': [os.path.join(BASE_DIR, 'templates')], # This is the only line that changes, the other lines you should already have
        'APP_DIRS': True,
        'OPTIONS': {
            'context_processors': [
                'django.template.context_processors.debug',
                'django.template.context_processors.request',
                'django.contrib.auth.context_processors.auth',
                'django.contrib.messages.context_processors.messages',
            ],
        },
    },
]
overriding a template
To override qrtoolkit templates, you should simply create a directory qrtoolkit_core in your templates directory. This folder should mimic the structure the qrtoolkit_core is using.
- example, override the kiosk template
To override the kiosk template you should have the following directory structure
.
├── db.sqlite3
├── manage.py
├── myqrtoolkit
│   ├── __init__.py
│   ├── asgi.py
│   ├── settings.py
│   ├── urls.py
│   └── wsgi.py
└── templates
    └── qrtoolkit_core
        └── qrcode
            └── kiosk.html # This is the template you should create
Add in the default content, which you can find on github, or in your installed python packages.
kiosk.html
{% extends 'qrtoolkit_core/layout.html' %} {% block content %}
    <div class="container">
        <h1 class="text-center mt-3">{{ qrcode.title }}</h1>
        <div class="row">
            {% for url in qrcode.urls.all %}
                <div class="col-6 text-center mt-3">
                    <a
                            class="btn btn-info btn-lg btn-block text-dark btn-rnd"
                            href="{{ url.url }}"
                            role="button"
                    >{{ url.name }}</a>
                </div>
            {% endfor %}
        </div>
        <ul></ul>
    </div>
{% endblock content %}
Update the contents of the file. As an example, you can change the btn-info class on the button (<a> tag) to btn-warning.
Now the buttons in a kiosk qr code will have an orange color!
Custom admin panel
The default list view for qr codes in the django admin is the following (i created 1 qr code as an example):
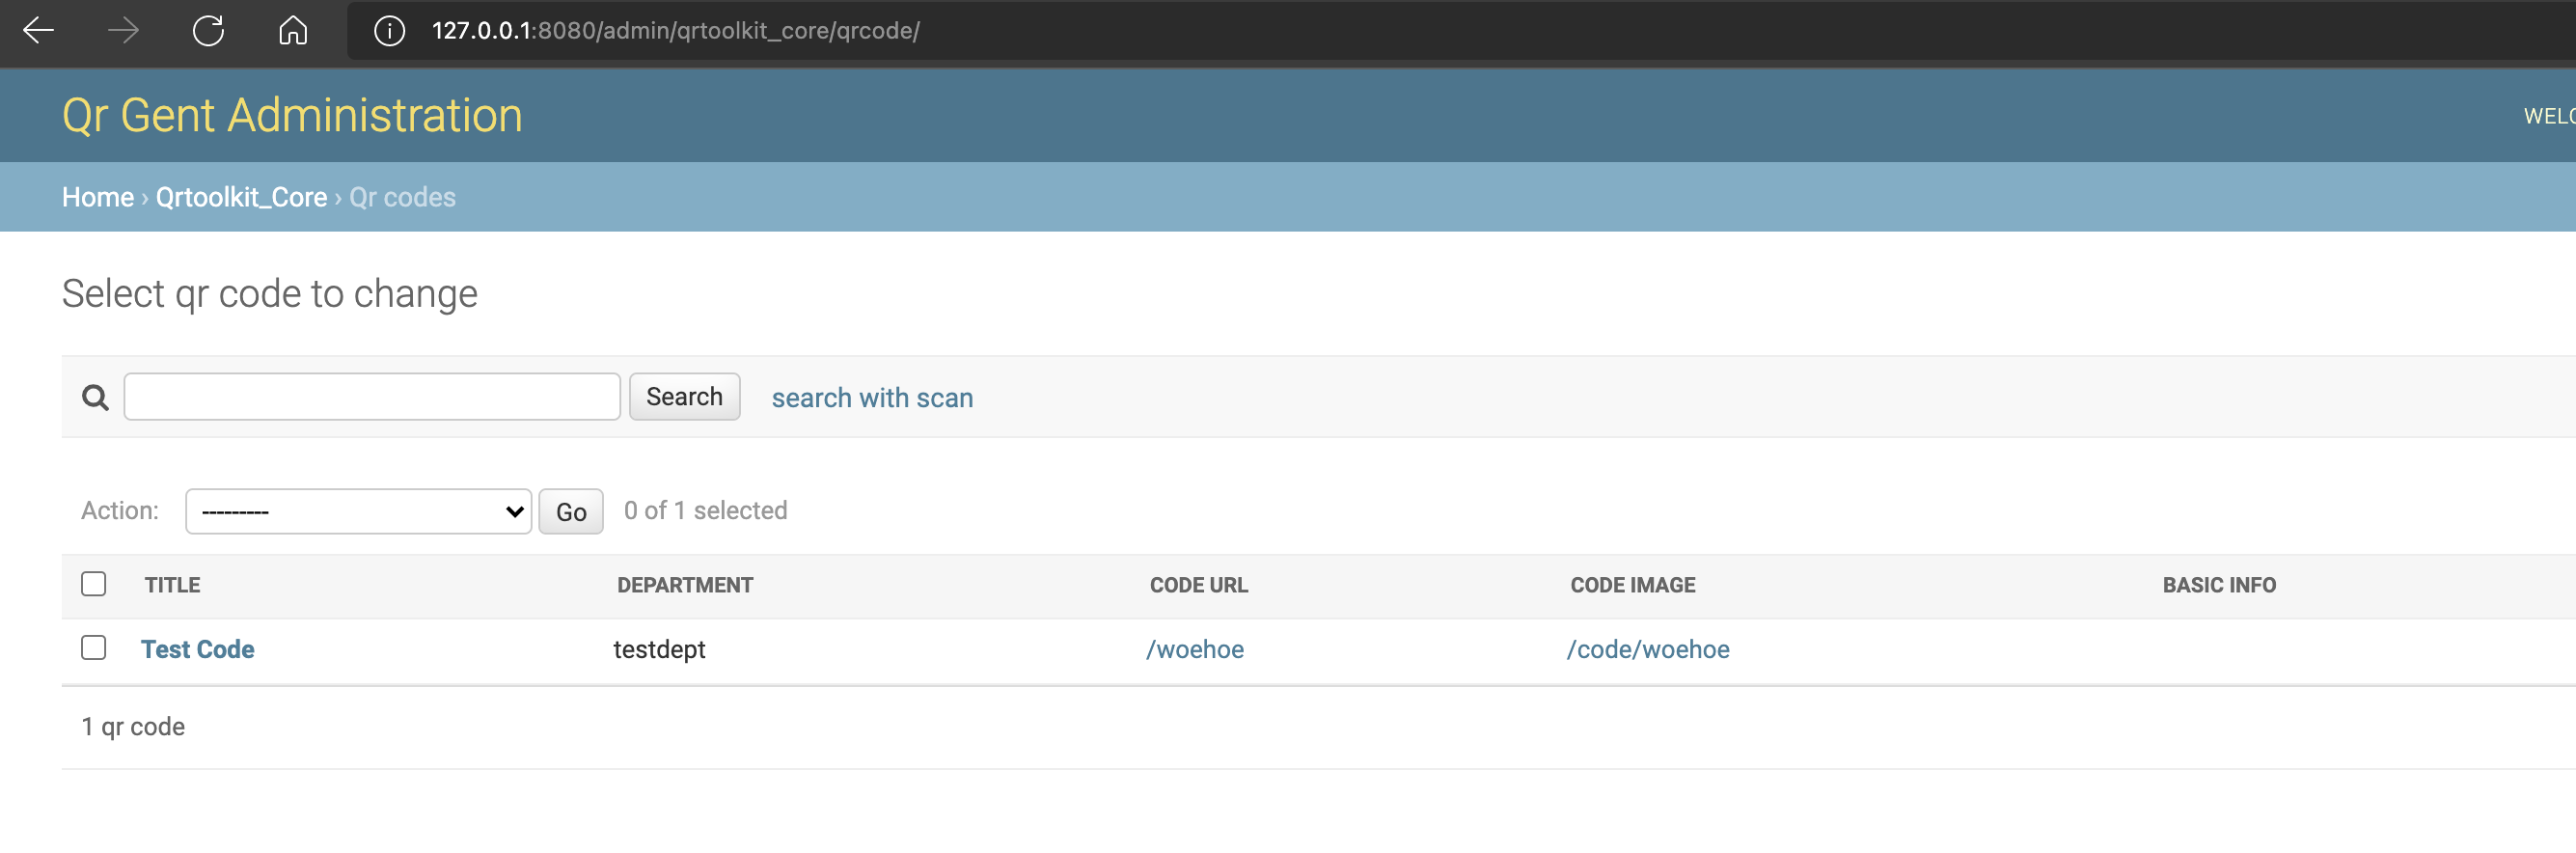
If you want this list to look differently, but still contain the core functionality, you can use the steps below
unregister the qrtoolkit_core admin models
in the file mycustomapp/admin.py you have created in the getting started tutorial.
from qrtoolkit_core import models as qr_models
from qrtoolkit_core.admin import QRCodeAdmin

admin.site.unregister(qr_models.QRCode)
Create your own admin model and register it
in the file mycustomapp/admin.py
# Make sure this is written AFTER the previous step
@admin.register(qr_models.QRCode)
class MyQrCodeAdmin(QRCodeAdmin):
    # Here you can override the fields you want to customize
    list_display = ('title', 'get_code_url', 'get_code_image_url')
Now the qr code list will look like the following:

For more documentation about what fields you can override here, have a look at the official django documentation